Prerequisites
On your Debian 10 machine, we will follow all prerequisites required for the famous “Kanga-Who” script, repeated for your convenience here:
shell
sudo apt update && sudo apt upgrade -y && sudo apt autoremove -y
apt-get install -y software-properties-common apparmor-utils apt-transport-https avahi-daemon ca-certificates curl dbus jq network-manager git nginx yamllint
systemctl disable ModemManager
systemctl stop ModemManager

Mkdir /installation
Cd /installation
wget get.docker.com
Mv index.html install.sh
Chmod +x install.sh
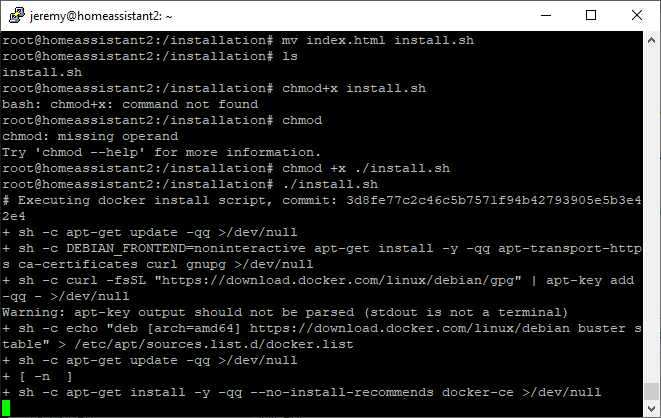
Docker takes approximately 2-3 minutes to install.
Installing Home Assistant
Next, issue the following to include /usr/sbin in your shell’s PATH. Otherwise, AppArmor will not be available to the supervisord installer script and it will fail.
shell
export PATH=$PATH:/usr/sbin
git clone https://github.com/home-assistant/supervised-installer.git
cd supervisord-installer
chmod +x installer.sh
./installer.sh
You will be prompted to continue
Enter “y” and hit enter.
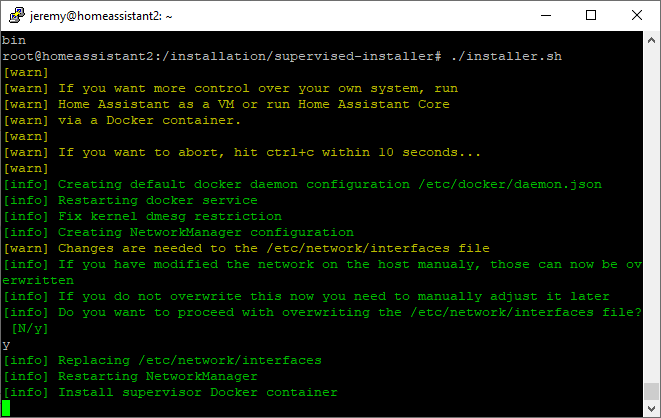
Once complete, the terminal will display the following:
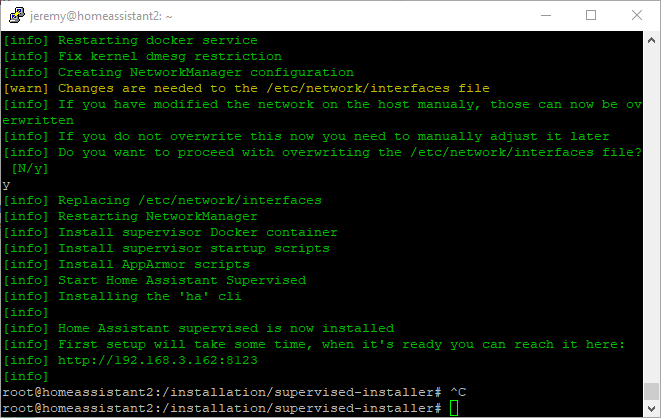
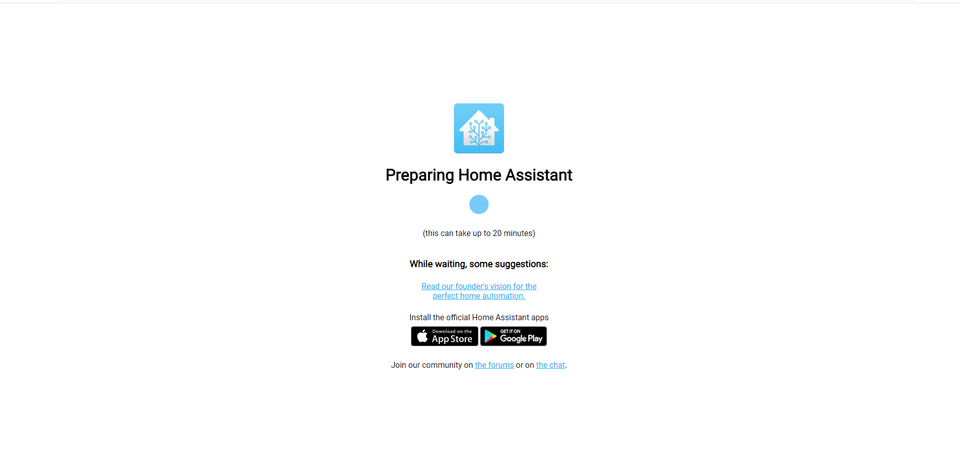
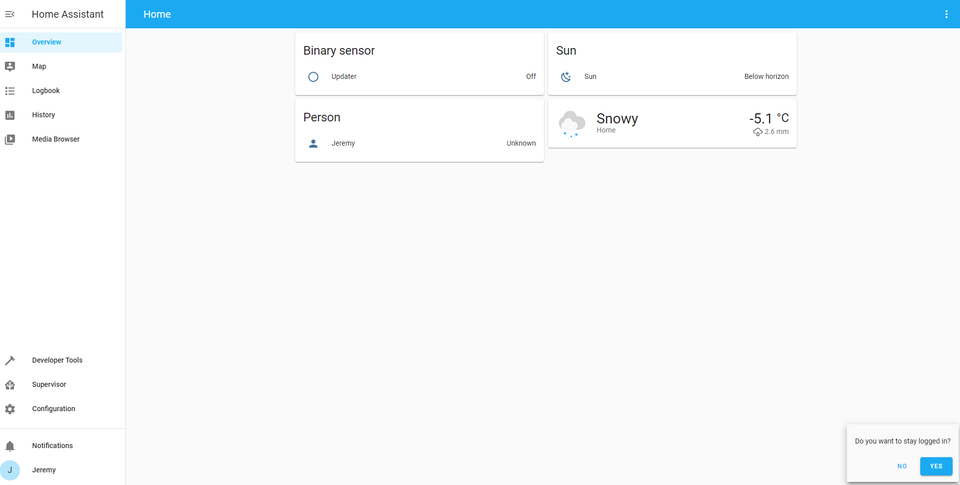
Visiting the HomeAssistant URL will yield the following after a moment or two:
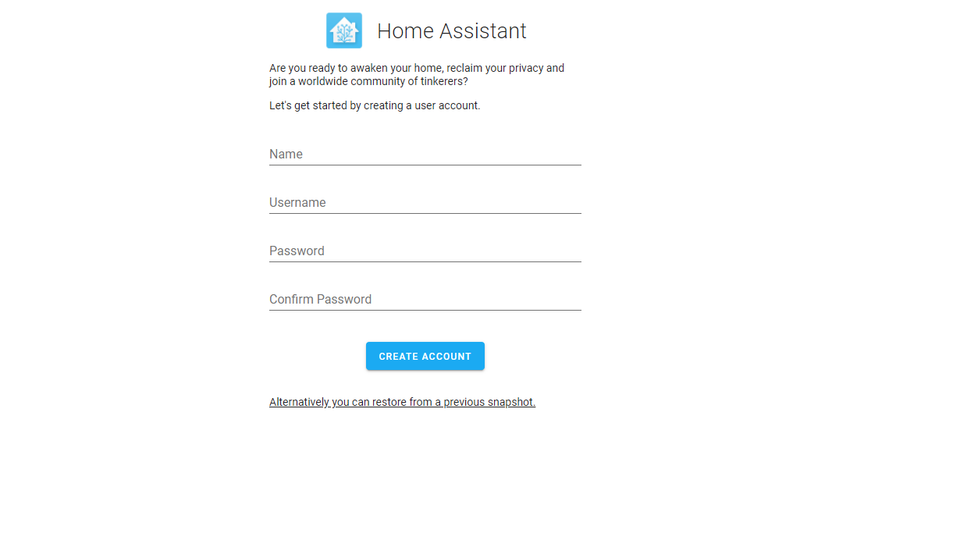
Once loaded, you will need to set your username and password before continuing:
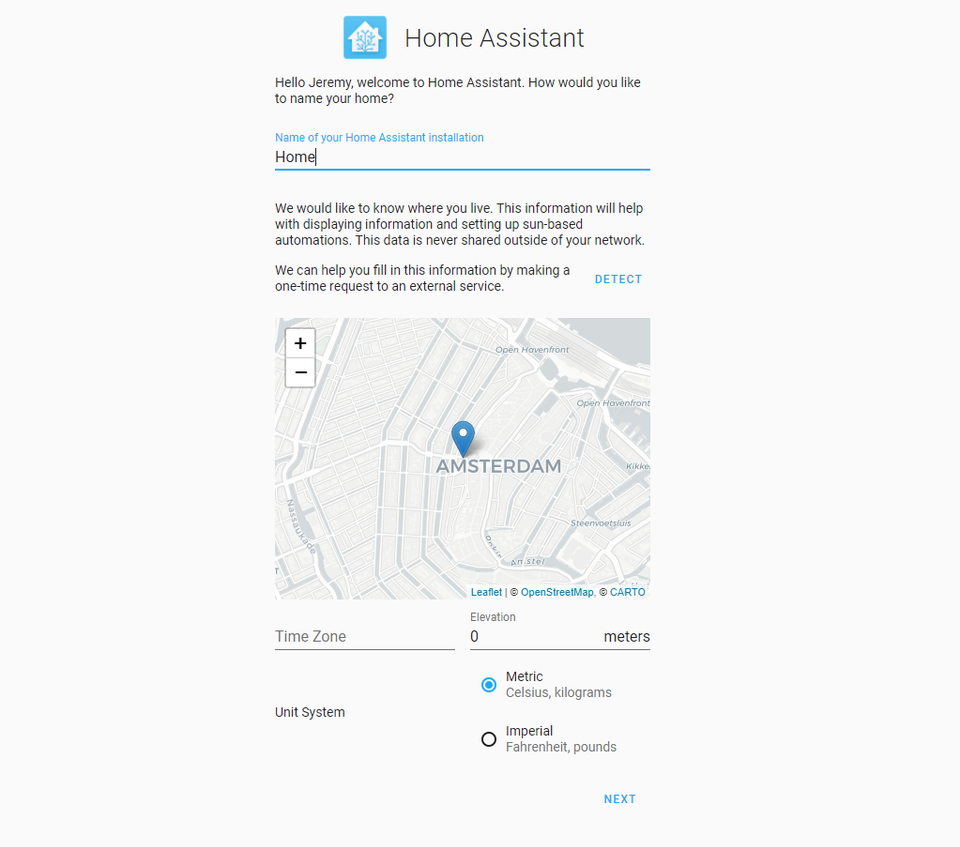
Home Assistant also needs a time zone so that things can be displayed properly in your local time:
At this point, Home Assistant is available, but not secured behind HTTPS. In
Securing Home Assistant
First, we will create a folder to house our SSL/TLS certificates.
Set ownership to the folder to your web server’s user:
shell
chown -R www-data:www-data /etc/nginx/ssl
and lock down permissions so that only the owner can work with these sensitive files:
shell
chmod 700 /etc/nginx/ssl
Generate a private key, and a CSR so that a certificate can be signed by a publicly trusted CA. Checkout SSLTrust.com.au for multiple SSL certificate options at different price points!
shell
openssl req -newkey rsa:4096 -keyout certificate.key -out MYCSR.csr
Once you have your certificate response, rename it to “certificate.crt” and place it in /etc/nginx/ssl along with your private key.
Next, generate your DHParam file. This will take a bit of time to complete. This will be used in order to insure perfect-forward secrecy on your connection:
shell
openssl dhparam -out /etc/nginx/ssl/dhparams.pem 2048
Edit configuration.yaml in order to trust proxied connections
shell
Vi /usr/share/hassio/homeassistant/configuration.yaml
At the end, add the section as follows:
text
http:
  use_x_forwarded_for: true
  trusted_proxies: 127.0.0.1
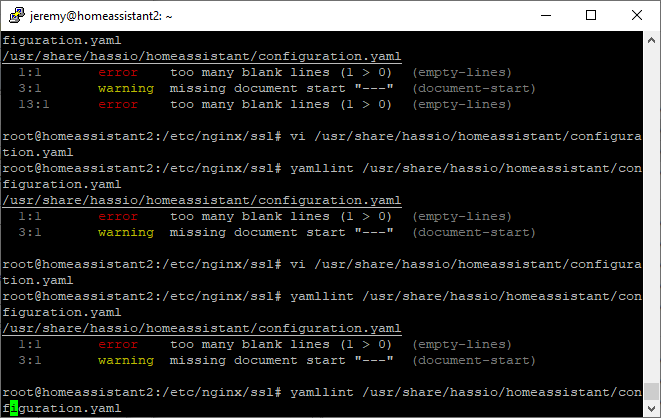
YAML files can be cumbersome, as white space matters like in python. Using yamllint, lets make sure we didn’t clobber the file.
shell
Yamllint /usr/share/hassio/homeassistant/configuration.yaml
The errors in the screenshot below can be safely ignored – they are present even before making edits!
You must restart HomeAssistant for this configuration to take effect. I recommend rebooting for good measure.
Next, create a file at /etc/nginx/sites-available named homeassistant
shell
Touch /etc/nginx/sites-available/homeassistant
And populate it with the following contents:
text
map $http_upgrade $connection_upgrade {
    default upgrade;
    ''      close;
}

server {
    # Update this line to be your domain
    server_name example.com;

    # These shouldn't need to be changed
    listen [::]:80 default_server ipv6only=off;
    return 301 https://$host$request_uri;
}

server {
    # Update this line to be your domain
    server_name example.com;

    # Ensure these lines point to your SSL certificate and key
    ssl_certificate /etc/nginx/ssl/certificate.crt;
    ssl_certificate_key  /etc/nginx/ssl/certificate.key;

    # Ensure this line points to your dhparams file
    ssl_dhparam /etc/nginx/ssl/dhparams.pem;

    # These shouldn't need to be changed
    listen [::]:443 ssl default_server ipv6only=off; # if your nginx version is >= 1.9.5 you can also add the "http2" flag here
    add_header Strict-Transport-Security "max-age=31536000; includeSubdomains";
    # ssl on; # Uncomment if you are using nginx < 1.15.0
    ssl_protocols TLSv1.2;
    ssl_ciphers "EECDH+AESGCM:EDH+AESGCM:AES256+EECDH:AES256+EDH:!aNULL:!eNULL:!EXPORT:!DES:!MD5:!PSK:!RC4";
    ssl_prefer_server_ciphers on;
    ssl_session_cache shared:SSL:10m;

    proxy_buffering off;

    location / {
        proxy_pass http://127.0.0.1:8123;
        proxy_set_header Host $host;
        proxy_redirect http:// https://;
        proxy_http_version 1.1;
        proxy_set_header X-Forwarded-For $proxy_add_x_forwarded_for;
        proxy_set_header Upgrade $http_upgrade;
        proxy_set_header Connection $connection_upgrade;
    }
}
Issue the following to make your nginx configuration active:
shell
ln -s /etc/nginx/sites-available/homeassistant /etc/nginx/sites-enabled/
remove your default site:
shell
rm default
and restart nginx
shell
systemctl restart nginx
Congratulations! HomeAssistant should now be available secured behind an NGINX reverse proxy at whatever address you used in your certificate. Make sure to create the required DNS entry to access your site!

Discussions and Comments
Click here to view and join in on any discussions and comments on this article.